
Dessert Tables Can Be Stress Free.
In my early years I've had my fair share of creating dessert tables for the family for the holidays, my favorite is Halloween. I love Halloween, and wish it was a week celebration! Lol! There's something about the colors orange and black and the amazing tulle and glitter decorations I get to play with. As the years have past my mother picked up on the whole "treats" station early on, before it became the trendy thing to do. With that, my sister and I, have picked up some helpful tips along the way and have been able to collaborate on some amazing dessert tables with some recent events, and for me a more successful outcome for my clients!
I don't care how many parties you have planned or decorated ect. In any production, it takes planing and timing for it to be an ENJOYABLE experience. We've all been there, life gets in the way and schedules conflict leaving you pressed for time. Here is a little cheat sheet timeline for your "DIY: DESSERT TABLE"
PRE-EVENT QUESTIONS:
- What type of celebration/event is this?
- Location of event, BOOK ASAP (3 MONTHS PRIOR)?
- Theme of celebration/event, does it work with the season?
- How many people will be attending, important for amount of sweets?
- Whats my budget and time frame until the celebration/ event?
Once you have all those questions decided, it's time to peruse your local shops, craft stores, online stores, and of course inspirational websites-- COUGH COUGH PINTEREST ! lol.
I personally, if time permits, start planning an event THREE months prior. It avoids impulsive shopping and less of a time crunch when it comes to decor. With my chosen theme in mind, I first do a little inspirational searching on the web from a variety of blogs to craft handmade vendors. Then I take it to the crafts store, like Michaels Craft Store, Joanne Fabrics, Anna's Linens- to the home stores like, Home Goods, Target, Marshalls, Pier One, T.J. Max, Sur La tab. I will go to all of these stores, and look around before I buy anything. Sometimes there are those items, that you know wont be coming back, on clearance, or even on sale. If you are feeling confident or it may be possible to return those items just incase. BUY IT!!!


 Are there certain items, that you see at stores, that you say "How on earth does it cost so much?" "I could make that". If you don't mind getting your hands dirty, or have kids that love to do just that, give them the glue and paint. It will be a nice family activity.Just be sure to repay them in a delicious meal. I mean that's what I would want from my parents- FOOD or CAKE! Hahaha... There are probably plenty of tutorials of what you want to do via the web. It's insane how many people have posted about their crafts. Thank goodness for that! I have saved so much money making or painting our own things. It is hard though, when you may not have time on your hands. Thats why I recommend THREE Months of planning. It will help you mold what to buy around your budget. Within the FIRST out of the THREE, be sure to have answered all pending questions and the perusing has begun, by the SECOND month out of the THREE be finalizing all purchased decor and supplies for handmade decor. As you get to the end of being TWO months out, be sure to be at least halfway done with your handmade decor. So lets recap...
RECAP OF DECOR THREE TO TWO MONTHS PRIOR TO CELEBRATION/ EVENT:
- (3 Months Out) Peruse home stores, craft stores, websites.
- (3 Months Out) Begin purchasing decor (the sooner for ONLINE PURCHASES, to avoid rush orders and spending more money).
- (2 Months Out) Finalize Purchases.
- (2 Months Out) Be as close to finish with any handmade decor.
 Here comes the tricky part, on top of decor, you need to finalize SWEETS!!!
Again 3 months is helpful. Planning and execution, can be done on a shorter time frame, yes- but we are going for STRESS FREE SMOOTH COASTING! So again, THREE Months prior, peruse your favorite local shops and vendors, website for inspiration and figure out what showcases this celebration/ event. Desserts are the hardest dishes on the menu, it's no different for your dessert table. Ask yourself, will I be making the desserts? Do I want to make all, or showcase one or two of my favorite dessert dishes to my guests- OR IS IT TOO STRESSFUL AND LEAVE IT UP TO MY VENDORS? Thats a tough one. There is something sweet and personal when you have showcased your DIY: ANYTHING. It's a chance for your guest to see your creative side and charm. Just keep in mind, who will be setting up the desserts table? Will I have help? Will I get a chance to breathe? I'm fortunate to have my mom and sister on the, CARO'S CONFECTIONS, team. It does make it easier knowing that the people i'm working with have experience, appreciation, and an eye for aesthetics. I'm sure all of you have a family member or friend that shares these qualities. :) ... Back to planning sweets. My sister is great about printing photos of what we plan on ordering or making. This is also great for the decor as well. I'm a hands-on kind of gal, and I cant stand looking at my smart phone or computer all day long. So PRINT if you can, organize it in a stylish folder and look like a professional party planner ;) lol. Why not?
BEFORE ORDERING:
Lets talk about people attending and location, some think if you have 50 guest, that you should have 50 of everything. Thats a pretty intense amount of sweets. I tend to take off of each amount of items, lets say if I have 50 guests, then I will have 5 types of sweet and quantity of 30/35 [ enter sweet here]. That's a 150/175 sweets on a table. I personally think thats enough for people to leave home with sweets ;). Next, ask yourself, at the location, what area in the location, and what tables will be provided. Will you display all of the sweets or refill bowls, baskets, trays as the event progresses. Sometimes you don't need to put it out all on the table, and you and your go to helper can put out more later on. Plus this is great for when space is limited!
You are ready to order? Well start calling and book those orders, some independent vendors and local shops will have different requirements when placing orders, time frame, deposits, ect. It's best to wheel your orders out as soon as you know what you are going to have.
 Are you baking? Well congrats to you on this extra tedious and timely manner- Know what, and when certain baked goods are perishable. Sometimes you even have to make them the week, a few days, or worse- 24 hours before the party. Know what works for your schedule! PLAN PLAN PLAN!
Also, are you picking up, or having things delivered? What do they charge? How early can you pick up your items?
Depending on your vendors, do try by a month before the celebration/event, to have all your orders in!
RECAP ON SWEETS THREE TO TWO MONTHS PRIOR TO CELEBRATION/ EVENT

NOW COMES THE RUSH

You know what I'm talking about, the "Oh my goodness the party is just weeks away!" The next thing you know you are recreating the same hand and facial gestures as the infamous "The Scream" painting, a la Van Gogh, or maybe you are like me and are overdosing in Starbucks coffee's and cafecito's . I would I.V. it, if I could.
DON'T FRET. If you are following the time line this next month can be useful to tie any loose ends. Something I like to do is make a 'Mock Table'. It's very helpful and will help you see and give you a chance to fill any blank questions.
I like to have height in mine, different fun levels to give the table some depth. Figure out what trays,bowl, crates ect. for the sweets to go in. Different cake stands and decorations of different heights, including flowers and candles. As I set the table up, I evaluate each placement, take a photo and switch things around and repeat. Then take that moment to step away and look over the photos. What do you and don't you like. Is it clean, messy, an organized hodgepodge of items? Should I add or take away anything?
The key is to do all of this as early as possible, so you can tweak it to your hearts content, and as you receive decor orders and any other last minute decor add ons, along with sweets orders you can add them in. Once again, keep in mind the location you are having your celebration/event in, the size of table and whats available surface wise. TAKE CLEAR PICTURES of your 'mock table' so you have a guide for the day of the instillation. Be sure to request (if possible) a 2 to 3 hours for set up- IN ADVANCED. Not all venue's allow this, but it doesn't hurt to ask. Be sure to make a check list of everything you intend to bring, make sure you mark or write down what you own.
EMERGENCY TOOL KIT: Be sure to have tape, scissors string, hot glue gun, safety pins, and any other pressing tools... THIS WILL SAVE YOU!!! Anyone helping you that day? Be sure they are on the same schedule as you! Provide them with coffee, hugs, and kisses- 4 shots of expresso iced latte and I'm one happy camper!
The day has come, and the hours are flying..... are you ready? On your mark get set--- GO!
Whip out that check list, have the pictures ready, load up that car(s), pack your emergency tool kit--- AND BREAK A LEG!!!
RECAP ON SWEETS THREE TO TWO MONTHS PRIOR TO CELEBRATION/ EVENT
- Print out images, with flavor profiles your ideal sweets.
- Decide on vendors, and/ home baking.
- Place your orders.Plan pick-up/delivery orders accordingly.
- If you are baking, plan it out on your calendar.
- Pick up or be available for Delivery orders.

NOW COMES THE RUSH
You know what I'm talking about, the "Oh my goodness the party is just weeks away!" The next thing you know you are recreating the same hand and facial gestures as the infamous "The Scream" painting, a la Van Gogh, or maybe you are like me and are overdosing in Starbucks coffee's and cafecito's . I would I.V. it, if I could.
DON'T FRET. If you are following the time line this next month can be useful to tie any loose ends. Something I like to do is make a 'Mock Table'. It's very helpful and will help you see and give you a chance to fill any blank questions.
I like to have height in mine, different fun levels to give the table some depth. Figure out what trays,bowl, crates ect. for the sweets to go in. Different cake stands and decorations of different heights, including flowers and candles. As I set the table up, I evaluate each placement, take a photo and switch things around and repeat. Then take that moment to step away and look over the photos. What do you and don't you like. Is it clean, messy, an organized hodgepodge of items? Should I add or take away anything?
The key is to do all of this as early as possible, so you can tweak it to your hearts content, and as you receive decor orders and any other last minute decor add ons, along with sweets orders you can add them in. Once again, keep in mind the location you are having your celebration/event in, the size of table and whats available surface wise. TAKE CLEAR PICTURES of your 'mock table' so you have a guide for the day of the instillation. Be sure to request (if possible) a 2 to 3 hours for set up- IN ADVANCED. Not all venue's allow this, but it doesn't hurt to ask. Be sure to make a check list of everything you intend to bring, make sure you mark or write down what you own.
EMERGENCY TOOL KIT: Be sure to have tape, scissors string, hot glue gun, safety pins, and any other pressing tools... THIS WILL SAVE YOU!!! Anyone helping you that day? Be sure they are on the same schedule as you! Provide them with coffee, hugs, and kisses- 4 shots of expresso iced latte and I'm one happy camper!
The day has come, and the hours are flying..... are you ready? On your mark get set--- GO!
Whip out that check list, have the pictures ready, load up that car(s), pack your emergency tool kit--- AND BREAK A LEG!!!
Number one thing on my list post celebration/event, a glass of bold red wine with my feet propped up. I hope this little timeline "cheat sheet" will help you plan your future dessert table. <3
Cheers, Post, Zalute,
Caro
P.S. Below are pictures of the most recent Desserts Table my team (mother, sister, and honorary member, Lynda) and I created for the baby shower of my nephew, Michael (who's due date is Oct. 8th!). If you have any questions, feel free to message me, thanks.
 |
| Barley & Swine |
 |
| Welcoming Staple |
 |
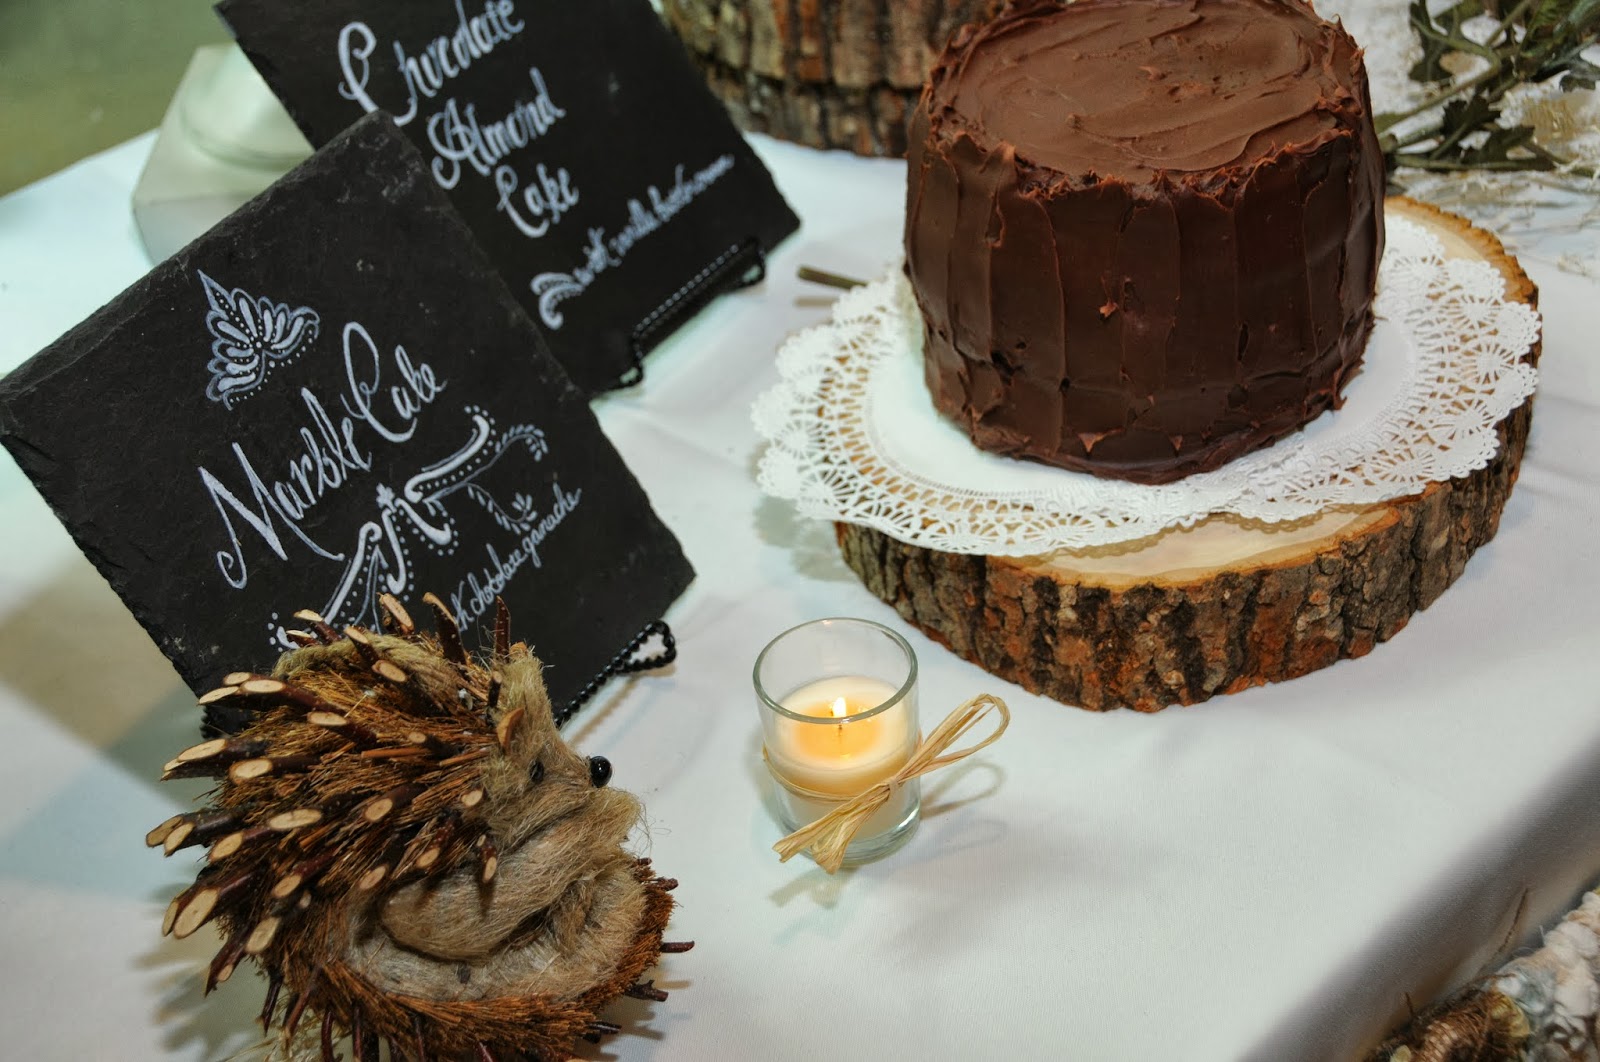
| Cakes, Chocolates, Cookies, and more. |


 |
| Hand Painted for 'Rustic' feel. |
 |
| Wooden Letters were covered with yarn and accent button were attached. |
 |
| Vintage Teddy Bear Center Pieces. |
 |
| Even decor for the rustic bar. |
 |
| Close up. |
No comments:
Post a Comment